Creating Custom Nodes
Creating custom nodes allows you to bypass limitations associated with Piper's standard node library, or even simply improve the functionality of current nodes.
Let's create a custom Merge text to JSON node that takes multiple text strings and combines them into a single JSON array.
1. Loading a Node from the Node Library
To create a custom node, start by loading an existing node that's closest to your requirements. Navigate to the node library using the plus (+) icon in the top left corner of the pipeline workspace and select the Input Text node for modification, since it has minimal code and works with strings.
After adding the node, open its settings.
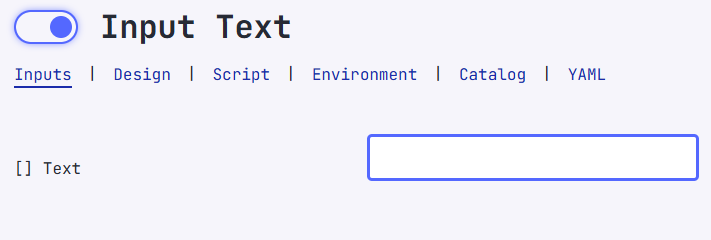
The settings panel includes several tabs:
- Inputs - Current node parameters, their configuration, image loading
- Design - Creating input and output parameters, defining their properties
- Script - Editing JavaScript code, node logic
- Environment - Configure environment variables
- Catalog - View node metadata and publish it
- YAML - Access the node's YAML
2. Node Configuration
Customization begins in the Design tab, where the node structure is defined.
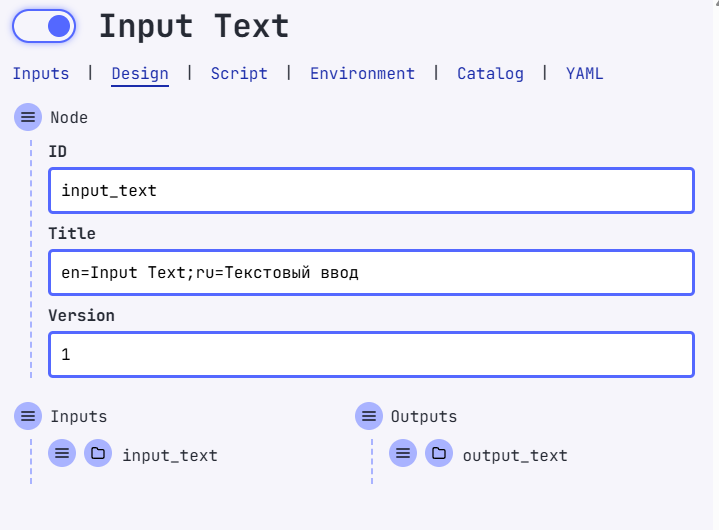
Basic Properties
- ID - Internal name used in code (lowercase Latin letters, no spaces)
- Title - Display name visible to the user
For our node, the previous values need to be replaced with:
- ID:
merge_text_to_json - Title:
Merge text to JSON
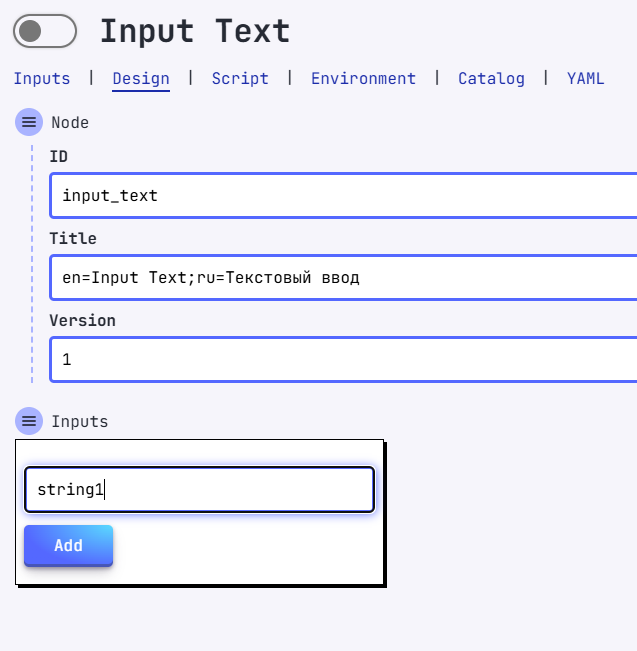
Adding Input Parameters
Our node needs 4 string inputs. To add a new input:
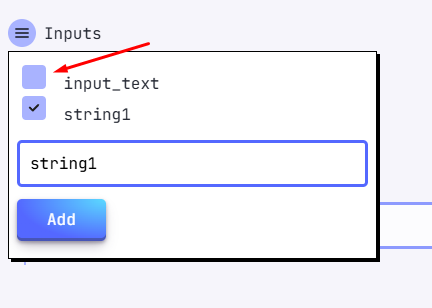
- Expand the Inputs hamburger menu
- Enter the new input name:
string1 - Click Add
Configure the input parameters:
- Type: string (i.e., text)
- Title: String 1 (name displayed on the node)
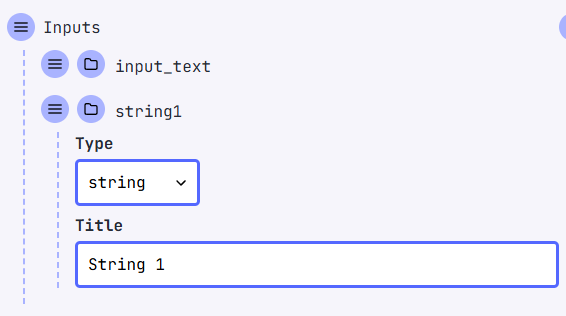
Repeat this process to create inputs string2, string3, and string4.
To remove the previous input parameter input_text, uncheck it in the Inputs menu.
If no visual changes occur, you need to temporarily open another tab and then return to Design.
Advanced Input Parameter Settings
Access to detailed settings is opened through the hamburger menu.
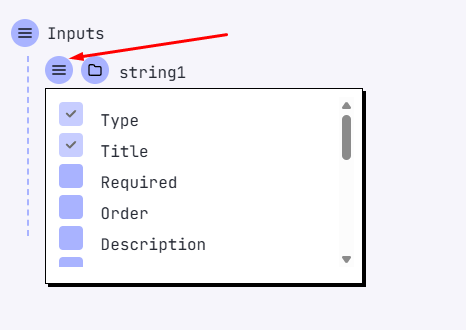
Available options include:
- Order (number) - Sets the order of inputs in the node
- Description (text) - Tooltip text for the parameter
- Required (boolean) - True makes the parameter mandatory
- Group (text) - Groups related settings
- Enum (text) - Creates dropdown lists with predefined values
- Multiline (boolean) - Expands String fields for long text
- Min, Max (number) - Sets constraints for Integer fields
- Step (number) - Converts Integer field to slider with step equal to Step value
- Default - Sets default values
- Placeholder (text) - Shows hints in empty String fields
- Schema - Technical field for scripts
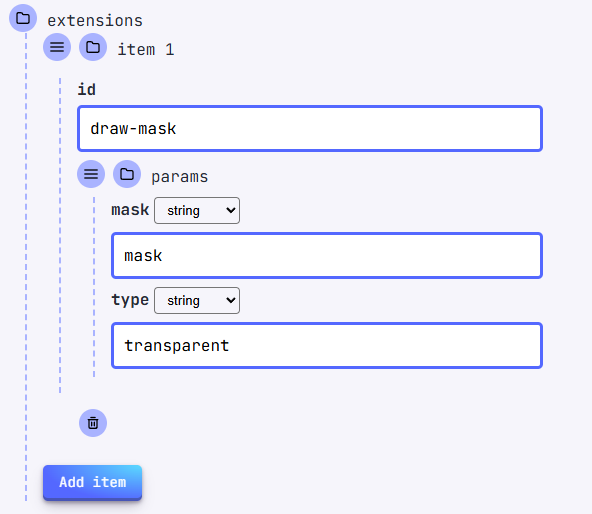
- Extensions (text) - Adds special functionality (e.g., draw-mask for setting masks on uploaded images)
Configuring Output Parameters
Create an output parameter. To do this, delete the previous output output_text and add a new json_output with the following parameters:
- Type: JSON
- Title: JSON
The final Design window should look something like this:
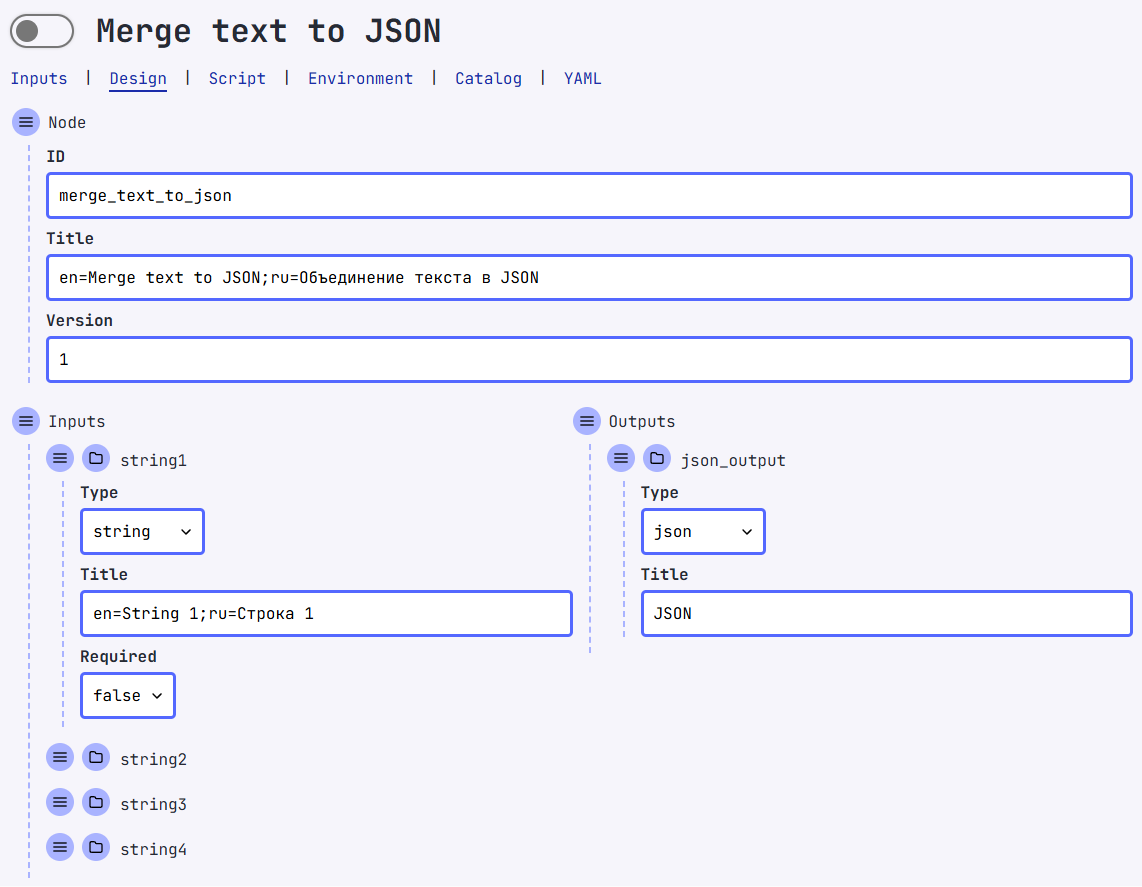
Monitor your changes in the Inputs tab to see how modifications affect the node structure.
The next step - writing the node's script logic, is covered in the Node Script Tab section.