Add Nodes to the Canvas
Node Menu
Click the Add Node button:

This will open the node library with a list of all available nodes
Node Categories
The node library is organized into categories based on functionality. Here’s an overview of the available sections:
| Category | Description |
|---|---|
| Generate Images | Creating and editing images |
| Video Processing | Video processing: splitting into frames and joining |
| Language Agents | Interaction with language models |
| Service Nodes | Utility nodes for working with images, text, and JSON |
| Magic Portrait | Portrait and face editing |
| Work with Images | Image enhancement and processing |
| Image Analysis | Image analysis using AI |
| Process Text | Text processing and translation |
| Generate Videos | Generating video content from text and images |
| Computer Vision | Nodes for computer vision tasks (upcoming) |
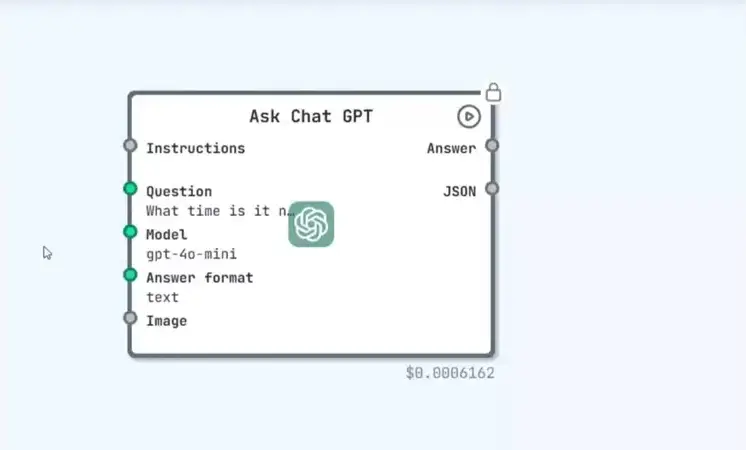
For example, let's add the ChatGPT node to the canvas. To do this, simply click on the node you want:

Moving Nodes on the Canvas
Once a node has been added, you can move it around the workspace.
To reposition a node, use drag and drop — hold down the drag icon:

Then move the node to the required location on the workspace:
tip
When working with multiple nodes, place them thoughtfully to keep your pipeline clean and easy to navigate.
Deleting a Node
You can also delete a node directly inside the node editor:
- Hover over a node.
- Open the node editor by clicking on the edit icon.
- In the top-right corner, click the Delete button.
Closing the Node Menu
To close the node menu, you can either:
- Press
Escon your keyboard, or - Click the close button.
